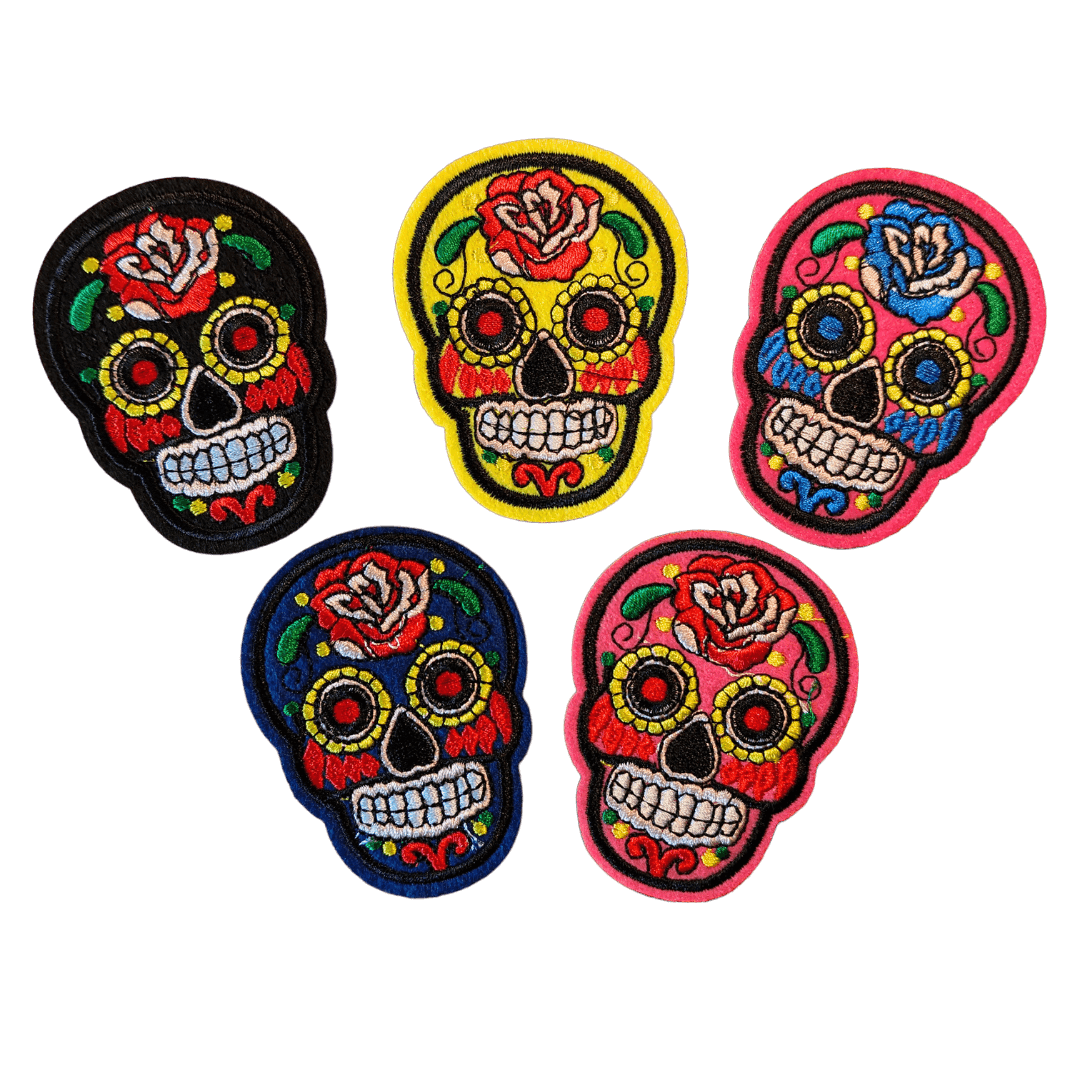
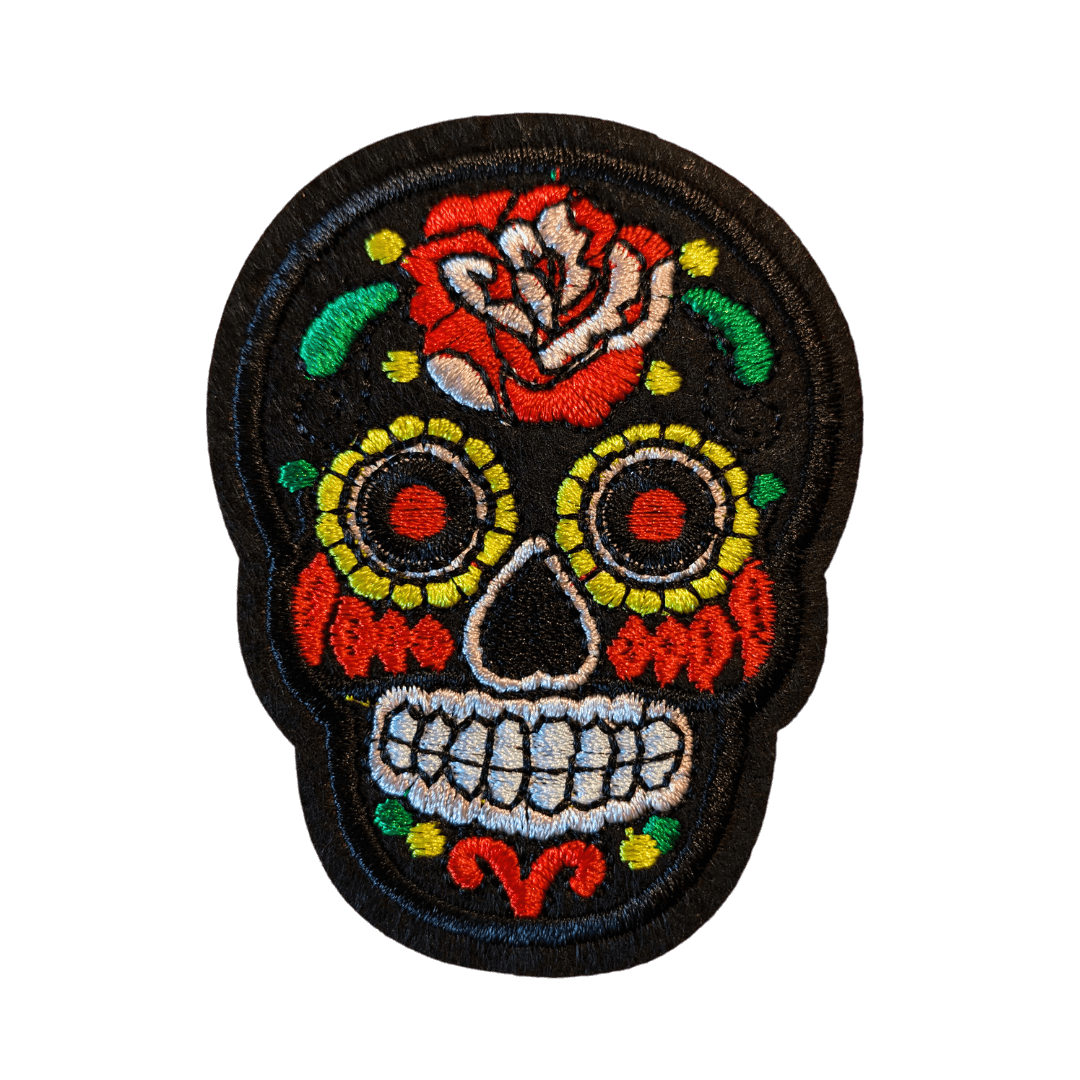
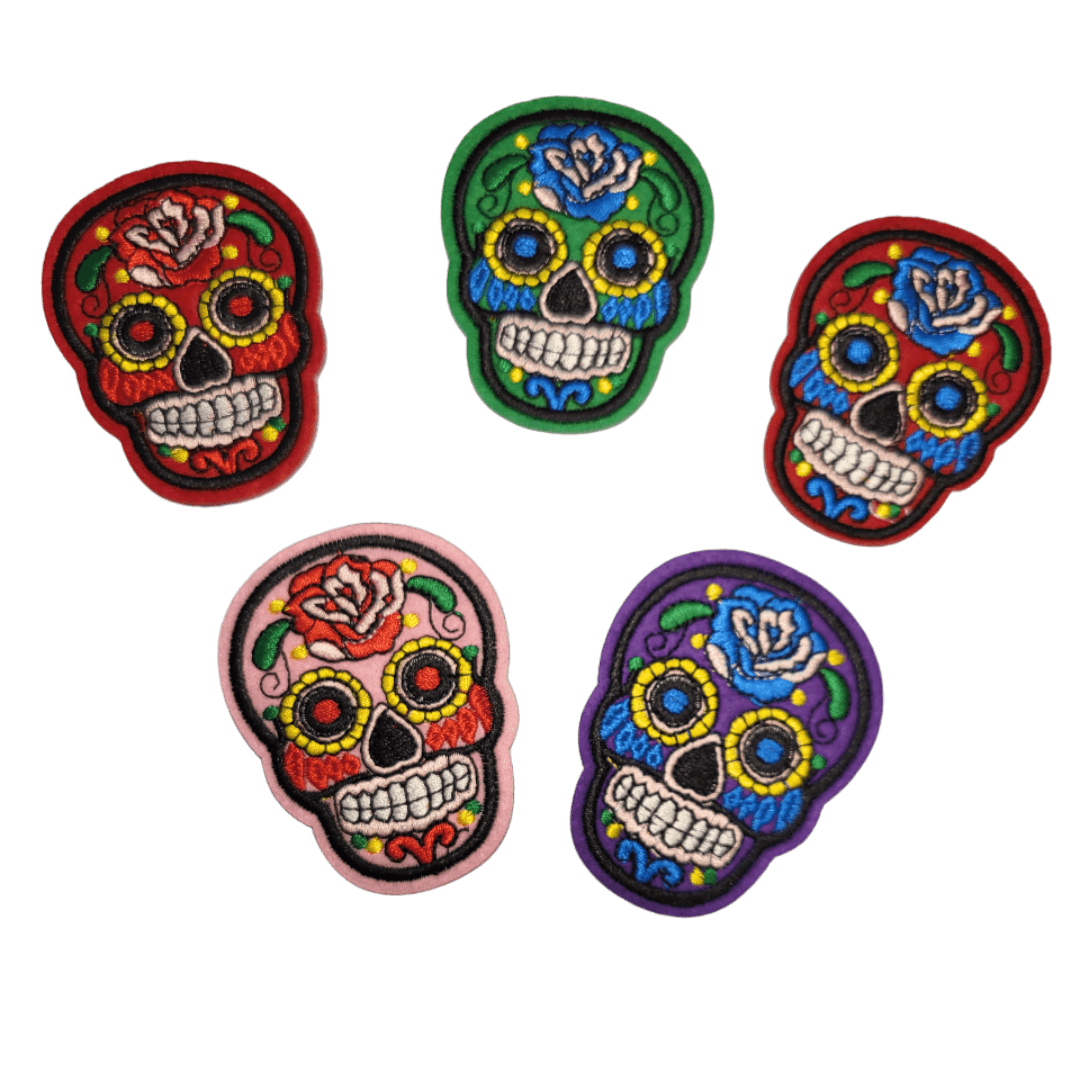
Iron-on patch patch images Dia de los Muertos skulls as a set or individually
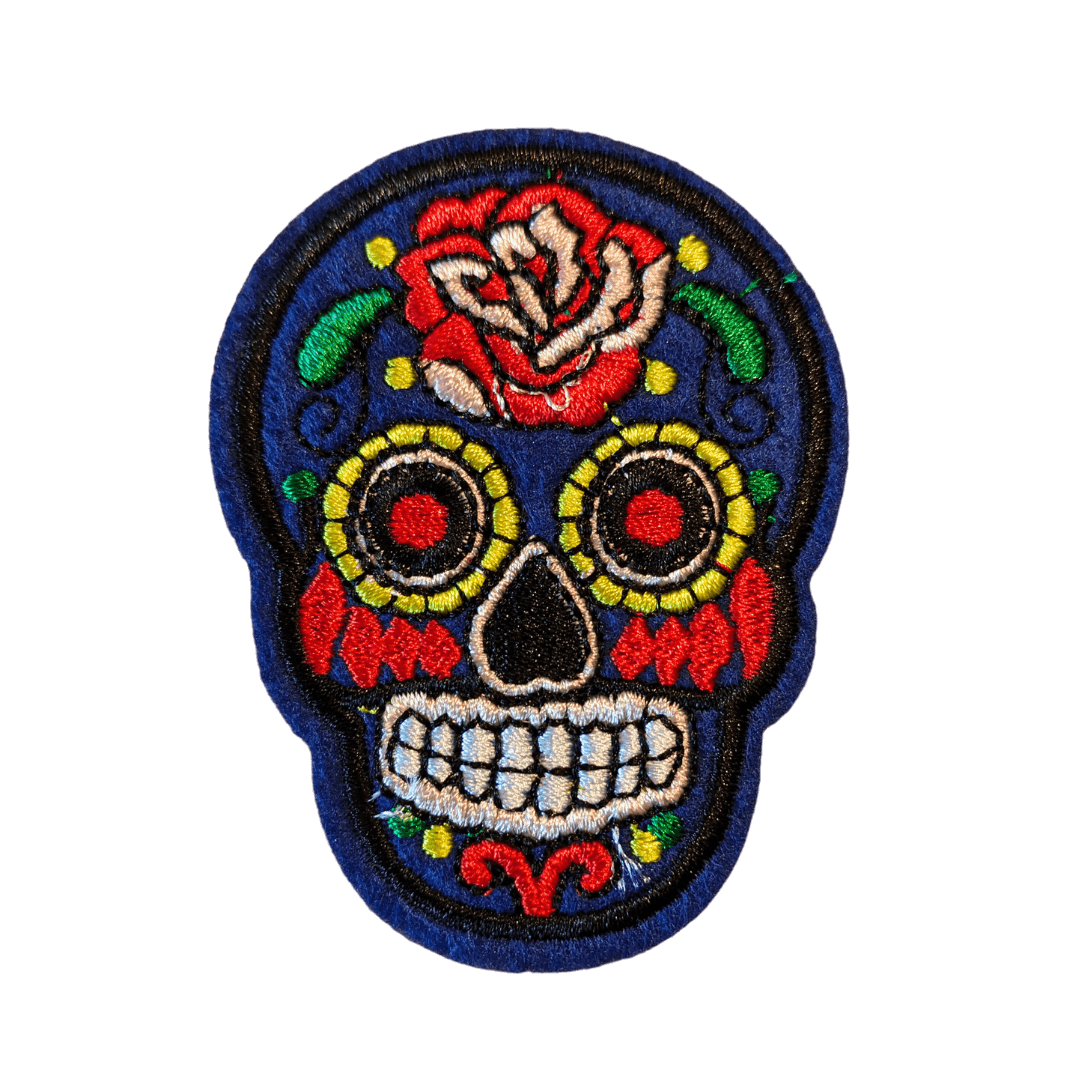
Iron-on patch patch images Dia de los Muertos skulls as a set or individually - Dark-blue is backordered and will ship as soon as it is back in stock.
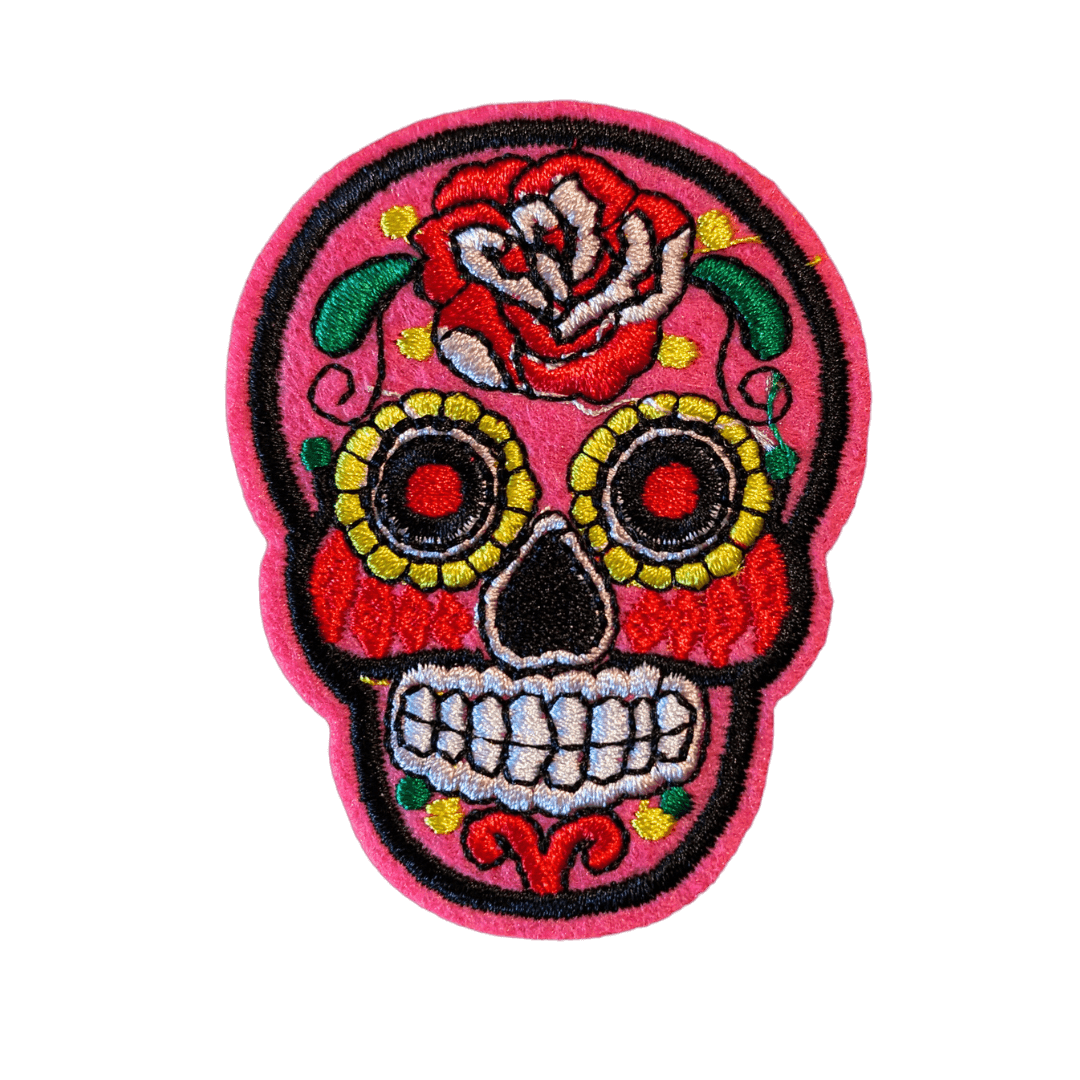
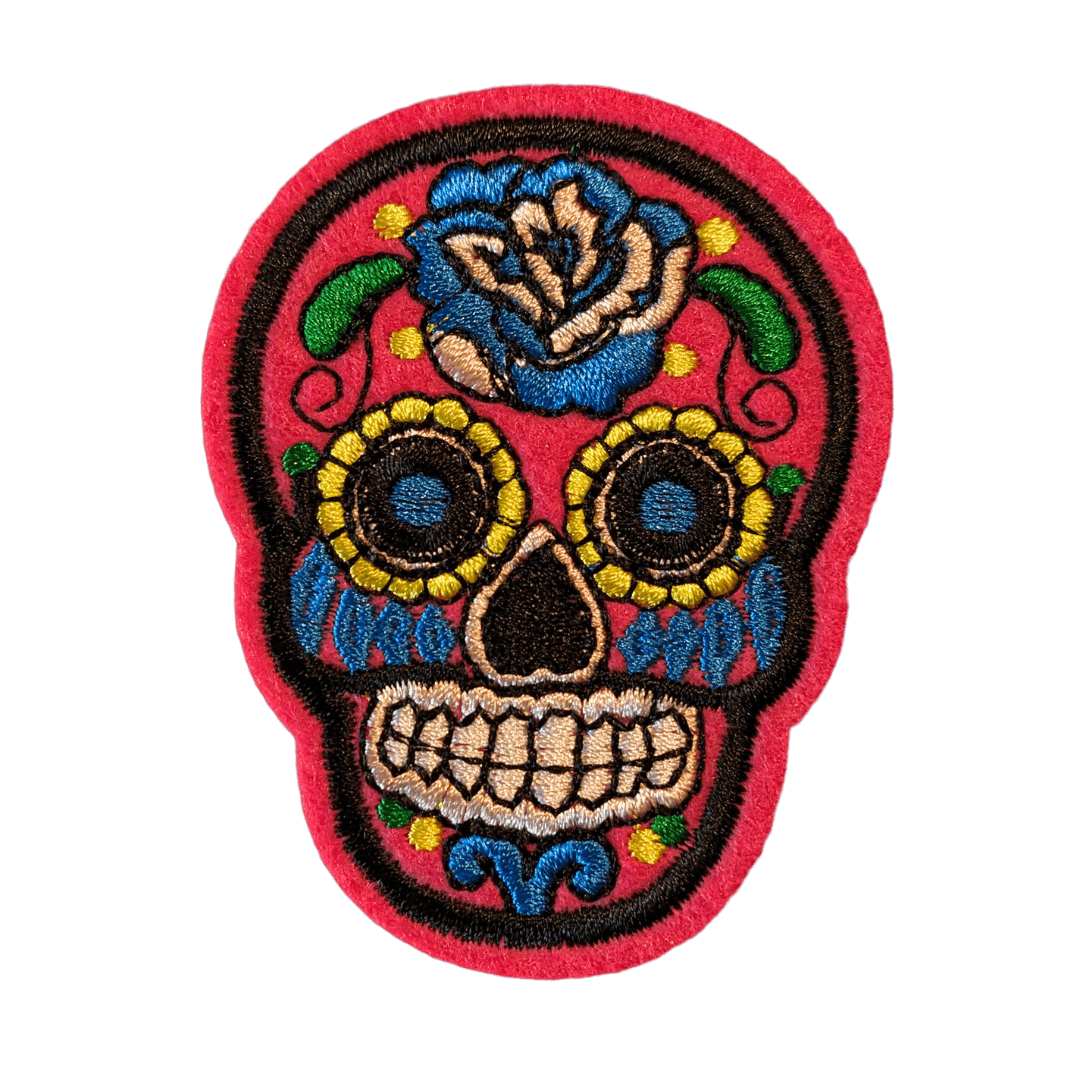
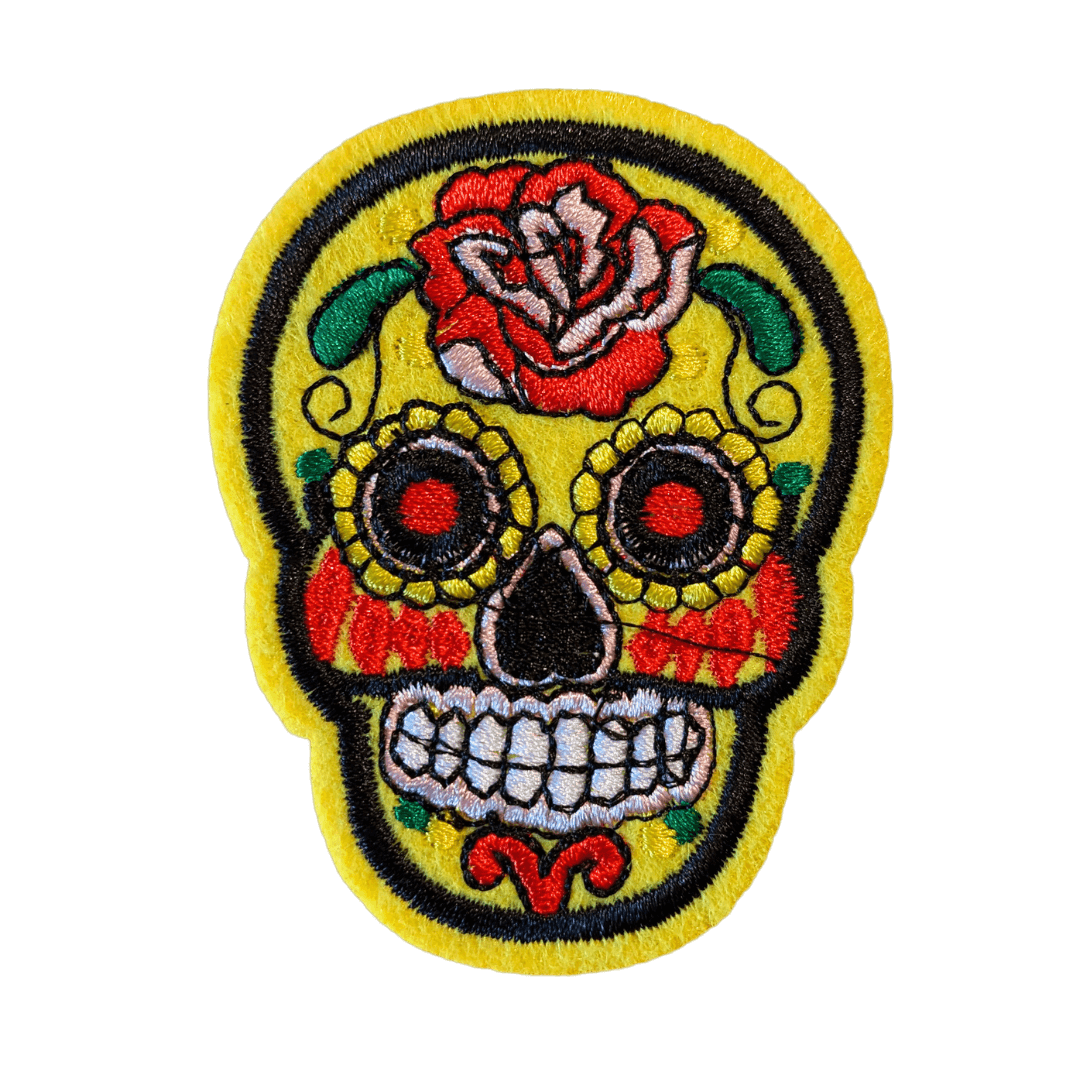
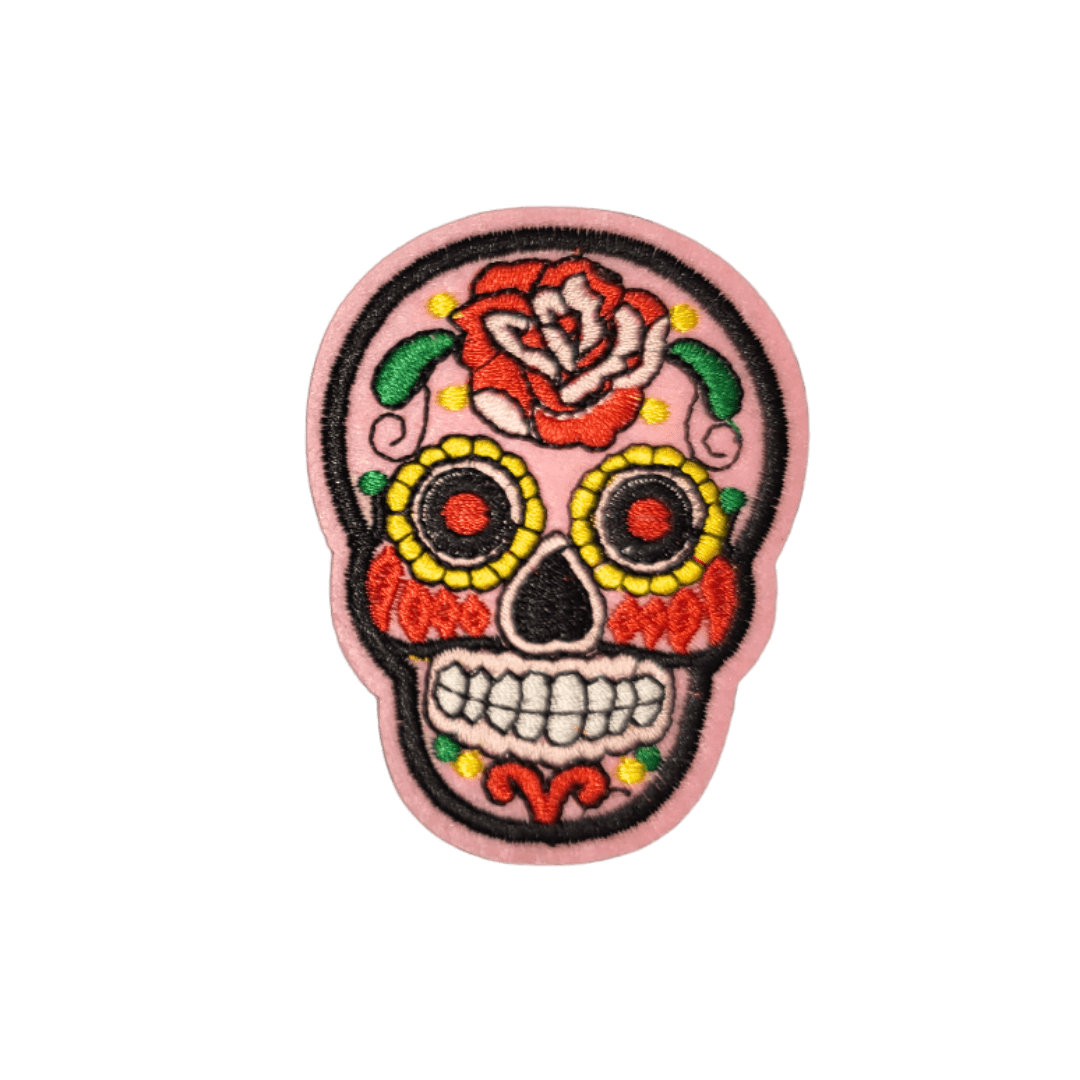
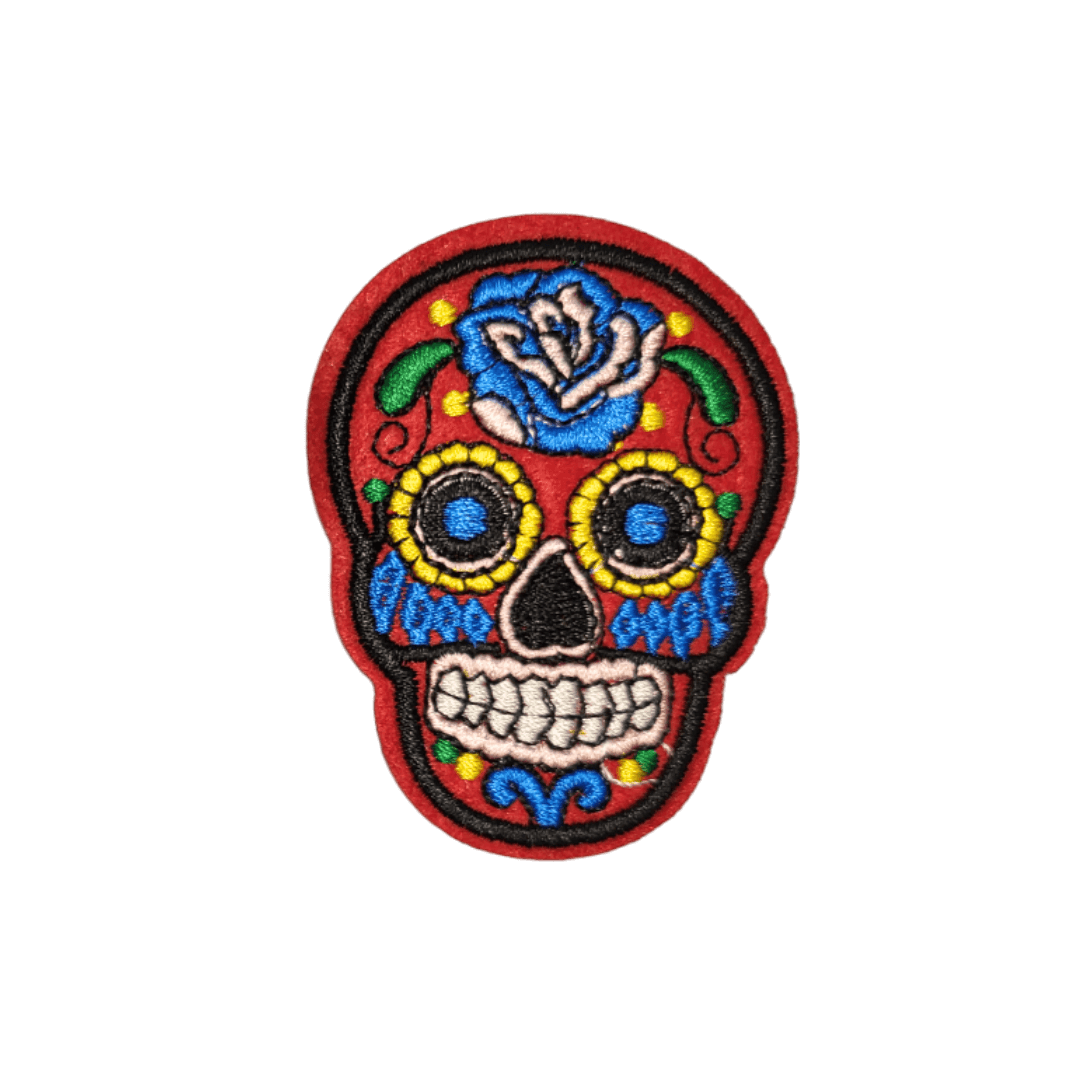
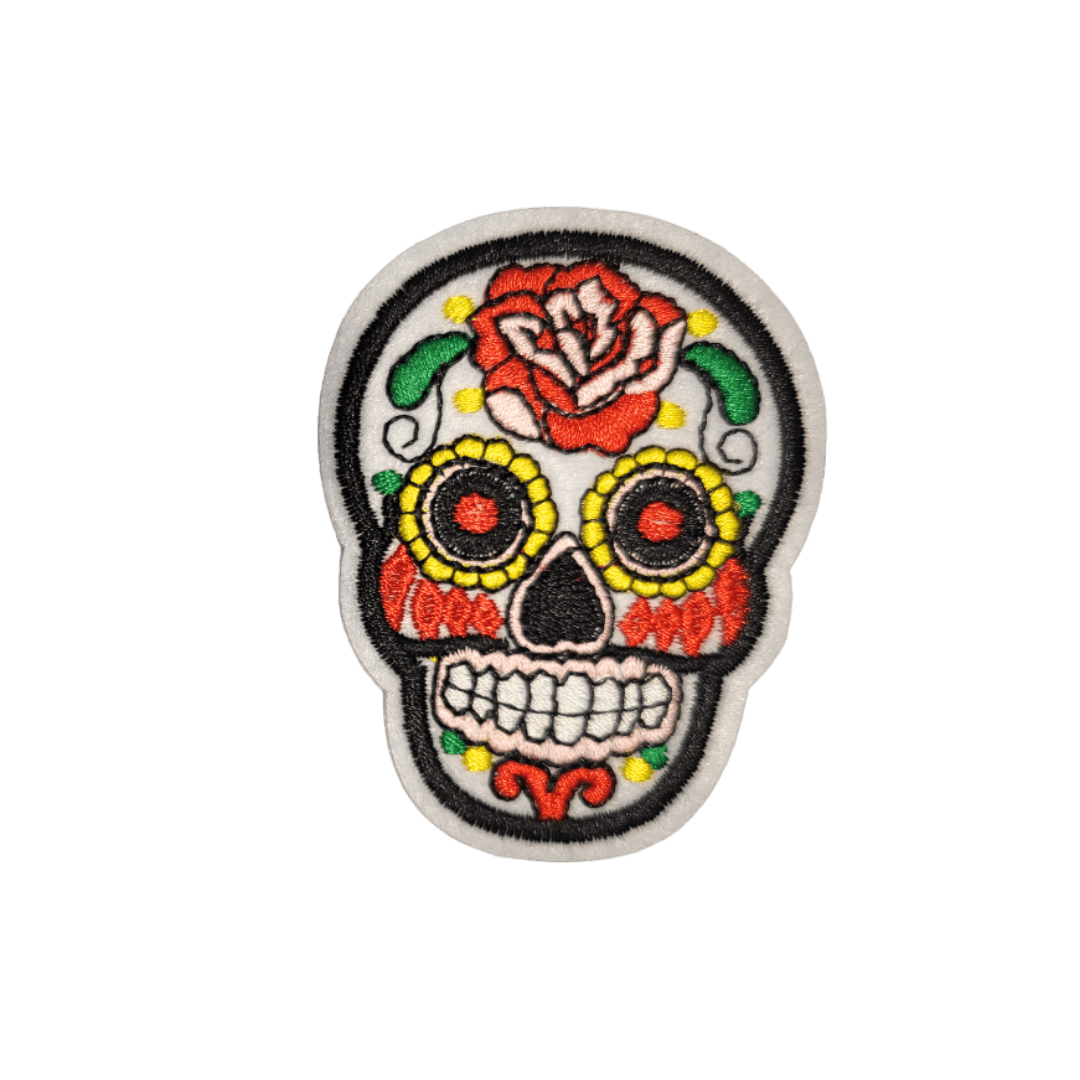
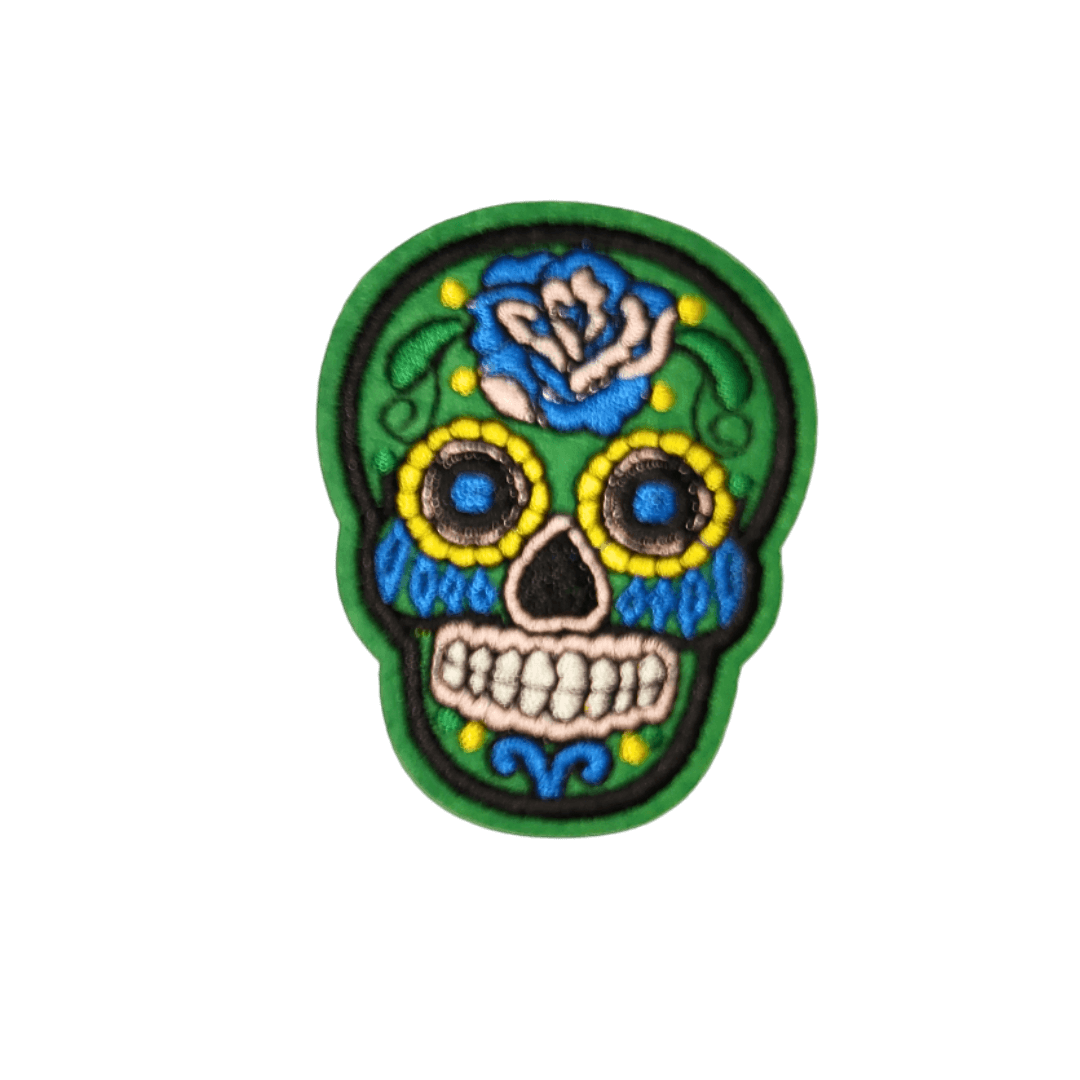
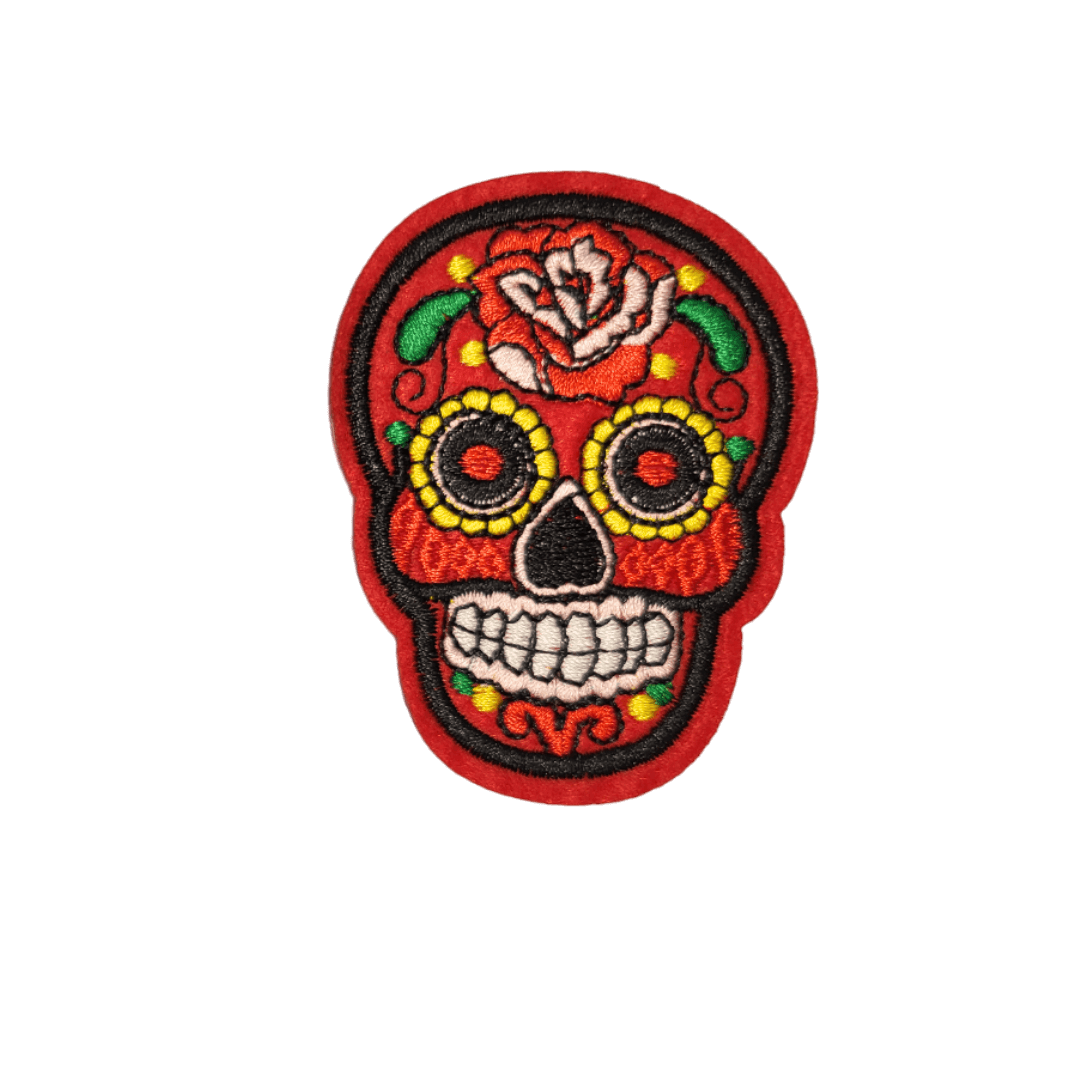
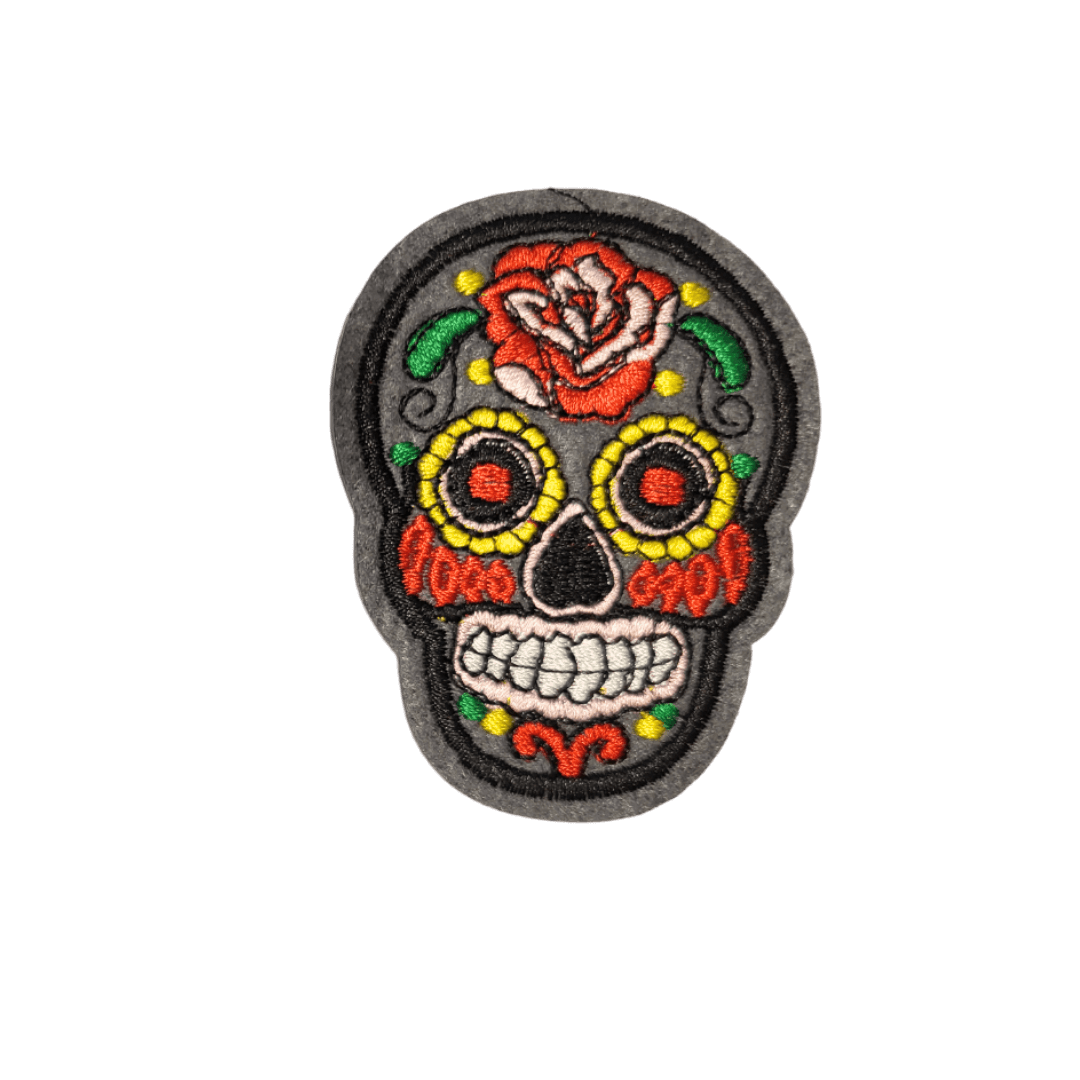
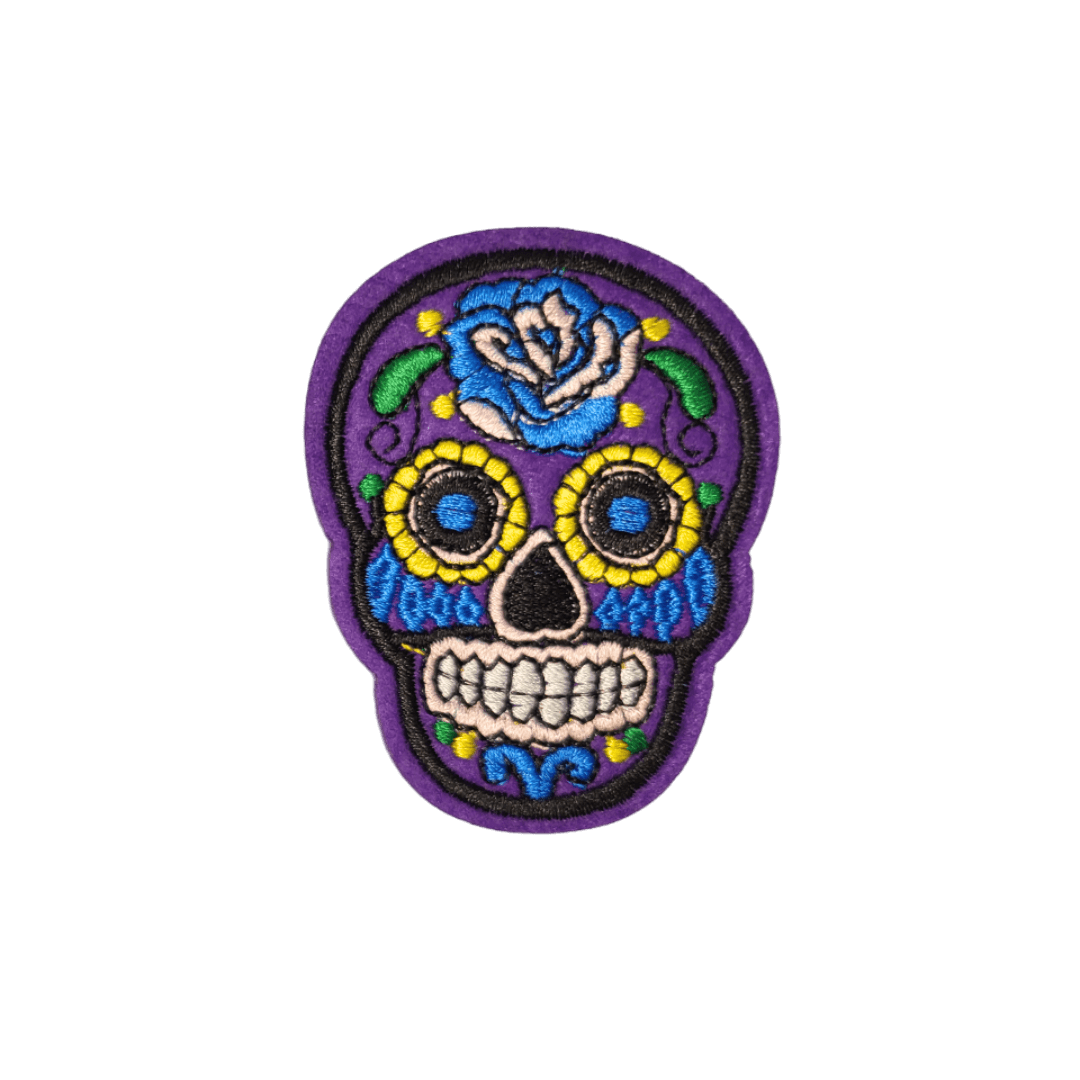
The colorful Day of the Dead or Dia de Los Muertos skulls of these iron-on patches are a popular motif on the well-known holiday of the Mexicans. The tradition entails, that on this day the deceased are not only commemorated by a richly decorated and colorful offering table with decorations and food, it is actually an invitation to the spirits of the deceased to be with the living on this day and join in the celebration.
The patches are easy to apply with the traditional method by ironing. However, these sugar skulls are also worn all year round with pleasure, for example, on backpacks or clothing. Some even decorate winter coats with them. Due to the flat surface, you can also simply lay out the iron-on pictures as decoration on tablecloths of party tables without ironing.
The patches are between about 5.5 to about 7 cm wide and long.
Of course, the motifs can be sewn on classically by hand, then you are not limited to cotton fabrics. During the process of ironing, make sure that small children are out of reach of the hot iron.
The following colors/styles are ready:
- Black
- Dark-blue
- Pink/Red
- Pink/Blue
- Yellow
The detailed instructions on how to do the application by iron properly, you can find below in the tips.

Iron-on patch patch images Dia de los Muertos skulls as a set or individually - Dark-blue is backordered and will ship as soon as it is back in stock.
Accepted payment methods
Apple Pay in Safari browsers, Google Pay in Chrome browsers. Some methods are shown or hidden on a country-specific basis.
Product details
Shipping and delivery time
Shipping and delivery time
In Germany approx. 1-3 working days, to other EU countries approx. 3-7 days delivery time. Products stored in refrigerator or freezer temperatures are shipped only from Monday to Thursday or max. two days before weekends extended by holidays. For further information please read our Shipping terms. Digital goods are usually shipped directly after payment.
Ingredients
Ingredients
Nutritional values
Nutritional values
Allergens
Allergens
Recipe
Recipe
Tips
Tips
Manufacturer/EU distributor details
Manufacturer/EU distributor details